GreenBeans DIY Breastpads
If you want to make yourself some reusable breastpads, but aren't sure exactly where to begin, then you've come to the right place!
You can follow the links below to add the materials to your cart.
Breastpads are a great stash & scrap buster - you can use up bits of PUL, microfleece/suedecloth and bamboo that you already have as well!
Fabric Requirements:
GreenBeans PUL (outer, waterproof fabric)
150gsm Microfleece (inner, stay-dry fabric)
340gsm Bamboo French Terry (core, absorbent fabric)
Sewing thread, a fabric marker or ballpoint pen, pins, scissors.
Directions:
In the images below, we have used contrasting thread for illustrative purposes - we recommend using a matching thread colour on your pads
- Prewash your bamboo fabric on a HOT wash and dryer cycle if possible. This pre-shrinks the bamboo fabric BEFORE you cut and sew it. Not prewashing your bamboo will result in your pads warping and twisting.
- Trace and cut out your circle template on some stiff cardboard or plastic. A piece of cereal box works well. You can select any size circle that suits you
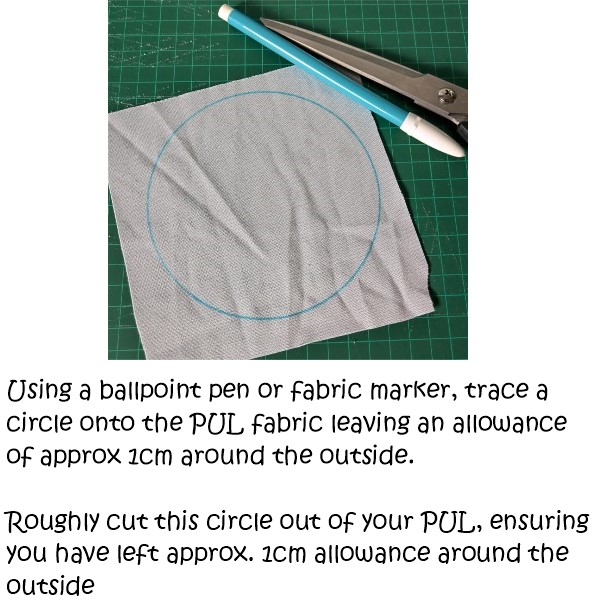
- Using a ballpoint pen or fabric marker, trace a circle onto the PUL fabric leaving an allowance of approx 1cm around the outside. You can use a “disappearing” fabric marker, or a Frixion pen, but a plain ballpoint pen or a pencil will be fine – you’ll be cutting just inside this line, so it won’t matter that it doesn’t wash out. Draw on the fabric side, not on the shiny waterproof side
- Roughly cut this circle out of your PUL, ensuring you have left approx. 1cm allowance around the outside
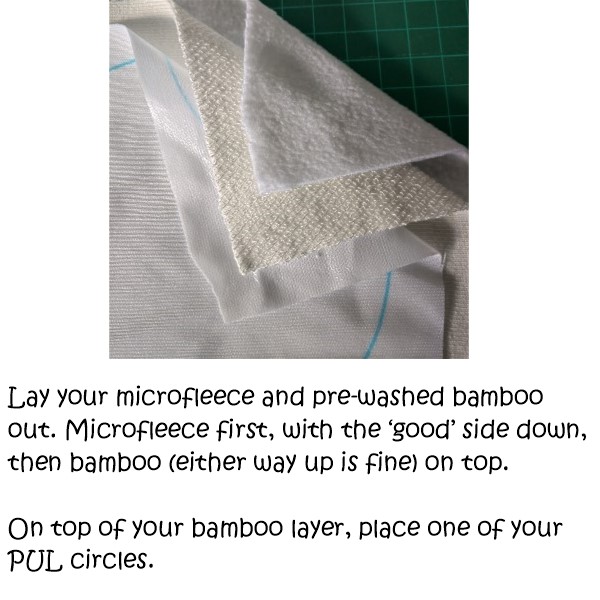
- Lay your microfleece and pre-washed bamboo out. Microfleece first, with the ‘good’ side down, then bamboo (either way up is fine) on top. Ensure there are no wrinkles in either piece
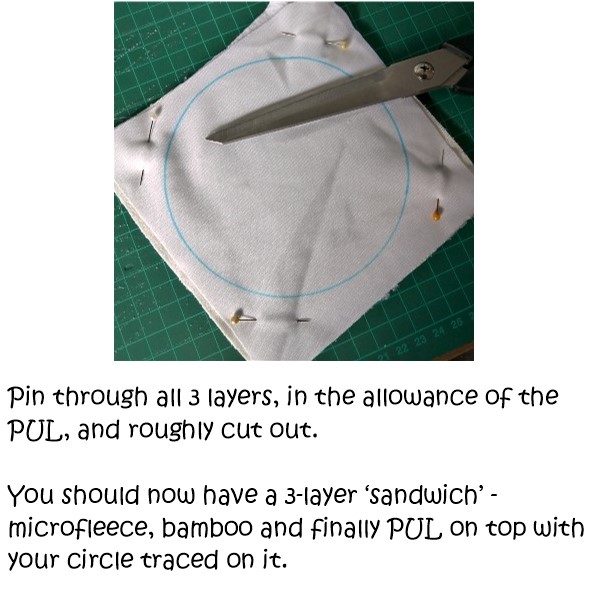
- On top of your bamboo layer, place one of your PUL circles. Pin through all 3 layers, in the allowance of the PUL, and roughly cut out. You should now have a 3-layer ‘sandwich’ - microfleece, bamboo and finally PUL on top with your circle traced on it.
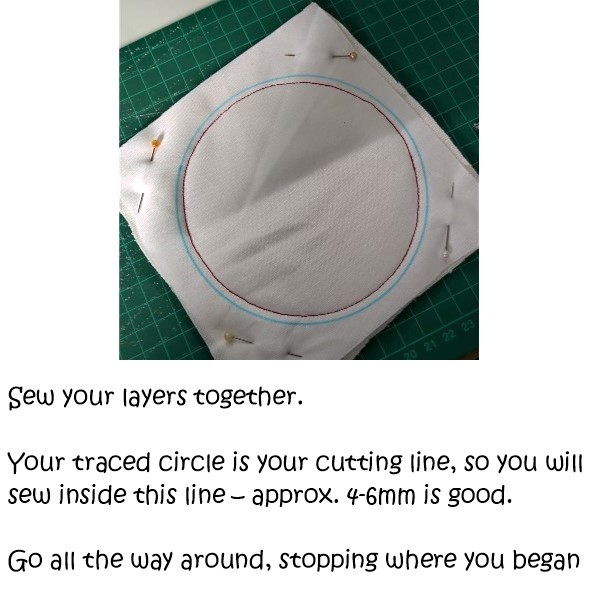
- Sew your layers together. Your traced circle is your cutting line, so you will sew inside this line – approx. 4-6mm is good. Go slowly until you get used to sewing in a circle. Stop with your needle down and adjust your piece as necessary. Go all the way around, stopping where you began. You can sew this by hand if you wish.
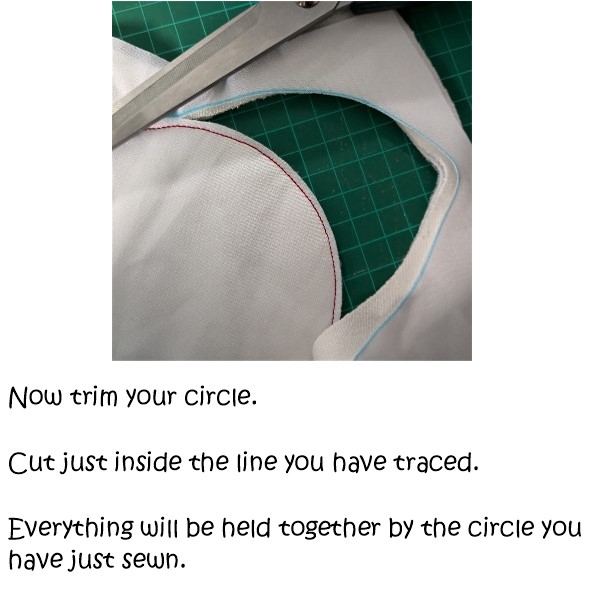
- Now trim your circle. Cut just inside the line you have traced, everything will be held together by the circle you have just sewn
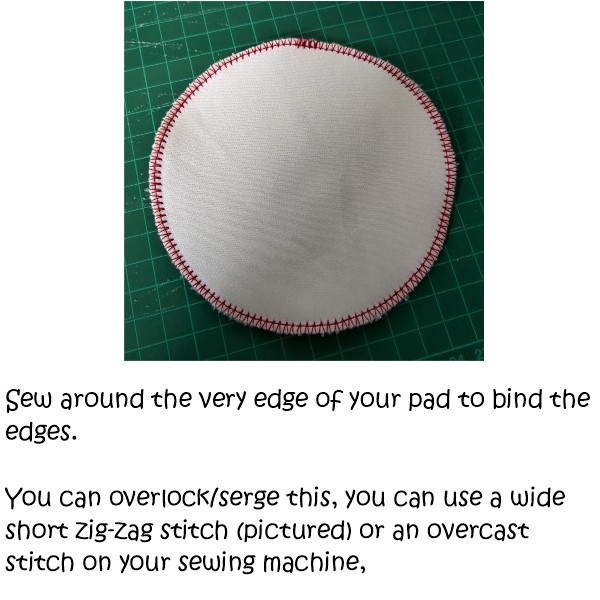
- Finish your pad. Sew around the very edge of your pad to bind the edges. You can overlock/serge this, you can use a wide short zig-zag stitch or an overcast stitch on your sewing machine, or you can sew by hand with a blanket/binding stitch.
Congratulations!
You have sewn your own breastpad. Well done!
Carry on with the remainder of your fabric.
To use, place one pad inside the bra cup with the microfleece side against the skin. Change regularly, even if not fully soaked, to keep your skin healthy. Unlike disposable pads, you can reuse these hundreds of times, so swapping out a barely-wet pad for a new one isn’t a ‘waste’.
Wash your pads on a normal cycle as you would wash your clothing. No need to wash separately. Use regular detergent, and avoid fabric softeners. Line dry in the sun, or in a hot dryer.
SIGN UP FOR OUR NEWSLETTER
